18 February 2019
iOS image file format guidelines
Image formats
Use PDFs / SVGs for images that are mostly flat - meaning lots of solid colors.
The PDF file format is a container format - it can contain many other image formats, including SVG, JPG, PNG, and more. Here we are talking about PDFs that only contain a single vector image (specifically, an SVG).
The SVG format is purely a vector format which contains drawing commands, and no raw pixels.
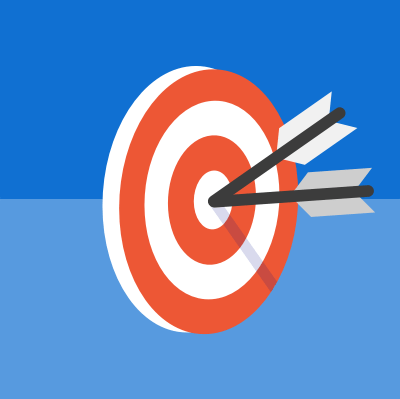
Icons are the perfect use case for PDFs / SVGs, e.g.:


Sometimes these kinds of images also work well as PNG files, since the kind of lossless compression used in PNGs is really good at compressing large areas of a single color. This is generally only true for smaller images, since larger images require more pixels (kind of obvious, but worth mentioning). The best thing to do is to take a look at the file sizes of both, and make your choice from there.
Keep in mind that the more complicated a PDF/SVG is, the longer it will take to render.

For example, even though the above SVG is only 248kb, it will take much longer to render (because of drawing all the individual lines) than a PNG version of it.
Use PNGs for images that must have transparency, or are composed of (pretty much) only flat colors.
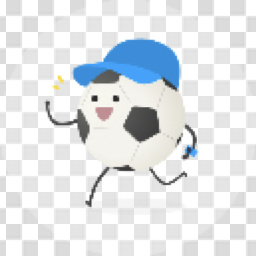
Remember that corners can be rounded, and images can be made circular through code. Opaque images are much faster to render, and take up 25% less space on disk and in memory than transparent ones. For example, this image could be made opaque and made circular at run-time:
| Original | Opaque version |
|---|---|
 |
 |
When using PNGs, you have a choice of using an 8 bit (8 bits per pixel) or 24/32 bit format. 8 bit formats use indexed-colors (meaning there’s a limited palette of colors to choose from for each pixel), and are usually best for uncomplicated (i.e. non-photographic) non-transparent pngs, or transparent images with mostly horizontal or vertical straight content edges.
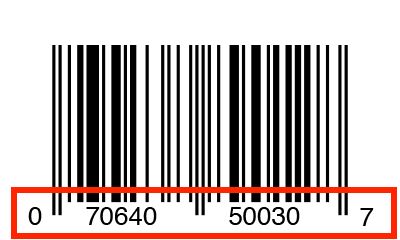
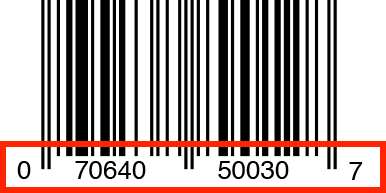
This is a great candidate for an 8 bit PNG:

24/32 bit images use 8 bits for each color component. If the image is opaque it will only have 3 components for R, G, & B and will be 24 bit. If the image is transparent then 8 bits will be used for the alpha channel, and the image will use 32 bis per pixel.
Use JPGs for pretty much anything else
Anything photographic, or that contains lots of gradients or differently colored pixels should be added to the app as a JPG. The exception to this is an image that needs to be transparent because its placement against a background is dynamic.
The JPG file format is lossy, which means that some information is lost, however the compression algorithm is designed around maintaining perceived quality, so you can safely save a jpg with the quality setting anywhere from 60-80% without any noticeable loss in quality. Because all images in our iOS app are shown with at least @2x resolution, any loss in quality is even harder to notice.
| Original PNG @1x - 375x429px (272k) | JPG @1x 80% quality (32k) | JPG @1x 60% quality (21k) |
|---|---|---|
 |
 |
 |
| PNG @3x, 1125 × 1287 = 2.2 MB | JPG @3x = 179k | JPG @3x = 119k |
However, never create a new JPG from another JPG (either by re-compressing or editing it) - this just adds lossiness on top of lossiness, and can start to introduce noticeable compression artifacts rather quickly.
Always create JPGs from their uncompressed PNG source.
Never save JPGs at 100% quality - if you want a lossless image use a PNG instead.
Tips
The smallest image is no image
• All images should have unnecessary white-space and/or transparency trimmed from their edges. For example:
| Before | After trimming edges to content |
|---|---|
 |
 |
• Flatten images into their background whenever possible. For example, if a transparent image will always be shown on the same background, it is better to flatten the image against the background:
| Original | Placed in context | Flattened image |
|---|---|---|
 |
 |
 |
When images can be flattened against the background they can be further compressed:
- Without transparency, the image could be saved as a JPG with a quality setting that can drastically reduce the file size.
- If saving as a PNG, they can be saved as non-transparent. Although this doesn’t mean any savings in size (because of the storage efficiency), it does increase rendering performance since the image pixels can just be copied to the screen without concern for alpha blending.
Backgrounds that are textured generally can’t be flattened into an image if the image’s placement can vary. This can result in breaks in the background that look janky.
Flattening icons, or other general purpose images is usually not preferred, since it can be hard to predict if different backgrounds will be required. Certainly, if the images are big it might make sense to maintain the original version, and incorporate the flattened version into the app.
- Leave out @1x PNG and JPG files if you only support devices that run @2x and @3x (very few iOS devices use @1x images)
- Make sure the image isn’t already added to the app.
- Make sure to delete images once they are no longer used.
Xcode image compression
TL;DR: not worth it.
Xcode has some image compression capabilities when you put your images into an asset catalog:
Specify image compression in Xcode
However, better compression results can be achieved by pre-compressing images outside of Xcode.
Here’s a rundown of how those images compress, and what they look like when run in the app.
| Format | Actual size pixels of 3x image | 3x zoom |
|---|---|---|
| PNGUncompressed2.2 MB |  |
 |
| JPG80% quality179 KB |  |
 |
| PNGXcode “Basic”593 KB | 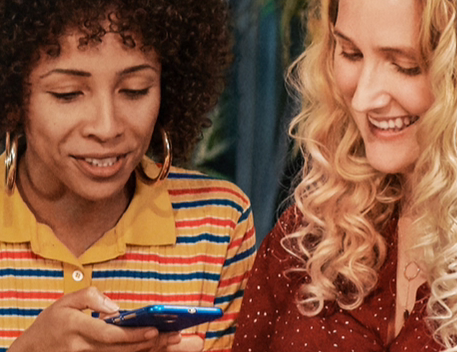 |
 |
| PNGXcode “GPU Best Quality”1.3 MB |  |
 |
| PNGXcode “GPU Smallest Size”325 KB |  |
 |
Xcode bundles all images that are in an asset catalog into a single “Assets.car” file. You can inspect this file by running the following command in Terminal:
- xcrun --sdk iphoneos assetutil --info Assets.car
The bottom line with Xcode compression is that the method that yields the smallest file size produces some pretty aesthetically displeasing results, and is almost twice the size of a jpg image.
Tools
- ImageOptim
Does a fantastic job, and has a Sketch plugin. However, it does not have a PNG → JPG workflow.
https://imageoptim.com/mac - GraphicConverter
Shareware utility, can do pretty much anything you need. The interface might take some getting used to.
https://www.lemkesoft.de/en/products/graphicconverter/ - ImageMagick
Command line tool
https://imagemagick.org - Pixelmator
More of an image editing app - has layers, trimming, and save for web. Great for one-offs.
https://www.pixelmator.com/pro/ - Photoshop
Does everything, but is $$$